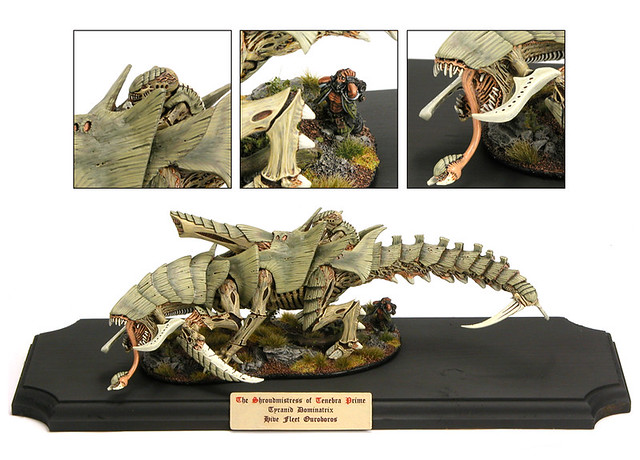
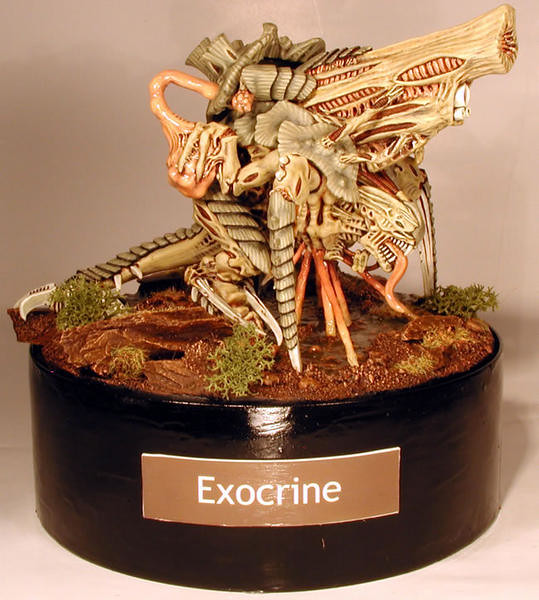
This How to Sculpt Miniatures series is my attempt to demystify the idea of sculpting your own miniatures. It seems that more and more people are taking cracks at it these days as the means of production are getting so very cheap and third-party casting companies are growing like mushrooms. Still, no matter how many head-swap bits are retailed, there is going to come a time when you have an awesome idea for a miniature, and there might not be a compatible, ready-made bit. You're going to have to make it yourself, and it is my belief that the only thing standing in your way is a few helpful tips.
UPDATE: I updated this article on Wednesday May 9 to add in a fourth Caveat. It was the type of thing that seemed obvious, so I left it out, but I have since realized that it is pretty important if you've never sculpted before or are just starting. Be sure to check it out below!
The following is best viewed as a continuation of How to Sculpt Miniatures 2 as I wasn't exactly sure where you break that article. Now that I've gone over the putties I use and have talked a bit about how to get a bit more out of them, I'll be getting into the nitty gritty of how parts 1 (tools) and 2 (putties) come together.