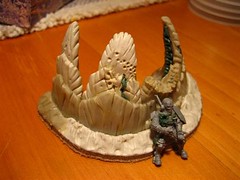
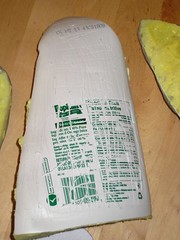
Well, repurposing walnuts, coral, and lotus seed pods is all well and good for some quick-and-dirty Tyranid terrain, but I've never been much of one for quick-and-dirty as far as modelling is concerned. So I listened to that little voice that every 40K player has inside his/her head: the one that looks at the foam packaging that your new monitor came in and thinks "that would make a pretty bad-ass piece of scenery." Except, I followed this voice a little further down the rabbit hole than most do, seeing a fantastic-piece-of-Tyranid-scenery-to-be in this:
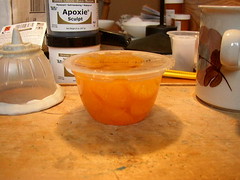
Or, I guess more accurately, this:
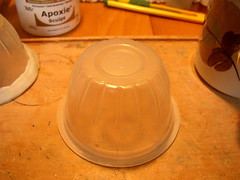
Particularly once you cut it up to look like this:
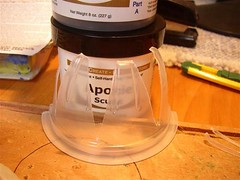
It was the mildly toothy beginning of a Tyranid barricade/fortification, but it needed both some reinforcing and some more detail. Enter Aves Apoxie Sculpt, the greatest discovery of any amateur/budding sculptor. If you've never heard of Apoxie Sculpt, I can't say enough good things about the stuff. It is cheap, you can buy it en-masse, it cures hard enough to carve and sand, and once you get past some initial learning curve items (use nivea/moisturizer instead of water to lubricate your sculpting tools; let the mixed putty sit for about 20-30 minutes to cure a little before you try to do anything with it; take less than you think you'll need because you'll always wind up with too much; mix in some greenstuff to modify its texture), you can get the stuff to do virtually anything. But the true beauty is that even if you can't get it to do what you're looking for, nothing is lost when you have to try again as you've still got tons more putty where that came from
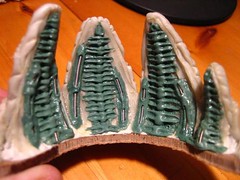
Sculpting these Tyranid barricades was, likely, the first project that gave me a better understanding of Apoxie Sculpt (AS from here on out). I'd used the stuff in bulking out Ross' Dominatrix, but I still did most of the detail work on that model in greenstuff. I'd previously only used AS to create a very rough substructure that I would later detail over in greenstuff. However, while working on the barricades, I realized that not only was AS a strong structural material, it also held detail beautifully...though the interior detail I sculpted onto the insides of the barricades was hardly a thing of beauty:
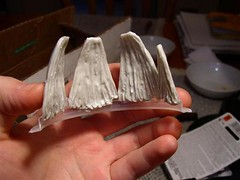
The exterior plates give a better idea of what can be accomplished with AS.
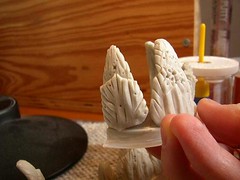
I sculpted them one at a time, allowing the previous one to cure before starting the next. I began at the top of the barricade and layered the lower plates over the previous ones. Allowing each plate to cure before moving onto the next meant that I was less likely to screw up something I'd already done by blundering my finger into still-curing putty. That being said, I still sculpted these barricades pretty early in my AS career, and the slightly rounded and bulbous details are not indicative of the sharp edges one can manage to achieve with AS.
I mounted each barricade to a piece of masonite hardboard to give it a wider footprint/to allow me some more area for sculpting the ground around that they're meant to have punched up through. When doing so, I made sure to attach them to the rough side of the hardboard as opposed to the smooth side, using epoxy glue, then sculpting over their bases with more AS.
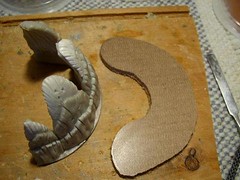
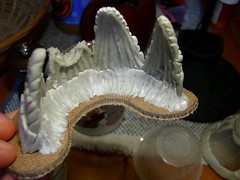
Finally, I added a bit more detailing to the fairly-plain interiors of the barricades using greenstuff and guitar wire.

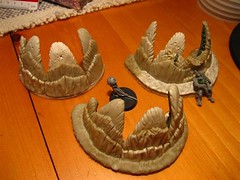
And here are the three finished barricades:
Initially, I created the barricades on a whim, but we later decided to use them in a Warpshadow forum project, and that project required also coming up with an up-sized version of the barricades. To facilitate that project, I turned back to my fascination with Oranges and the containers they come in:
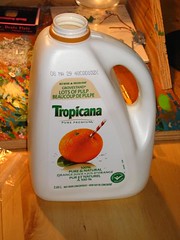
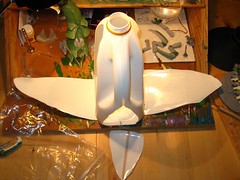
Working from plastic containers like this provided you with a really good rough template for the shape of what you are sculpting (in that sense, they work just like plasticard). The only issue is that you sometimes need to reinforce flimsy plastic, which was exactly the case with the flimsy plastic used in this orange juice bottle. To reinforce the insides, I used expanding spray insulation to coat the interior. Once that had FULLY dried (leave it for a couple of days), I cut away the excess using a hot wire foam cutter. I also roughed up the outside of the outside of the plastic to give the AS more chance of adhering to it.
I applied the armour plates just as I had with the smaller barricades: one at a time from the top down. This was doubly important with these larger plates as there was so much area to add detail to that, were I to try sculpting more than one at a time, the AS would likely cure past the point of workability before I could finish both plates.
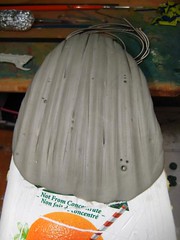
Here are two of the finished plates. I'm not happy with how the bottom plate on the left one turned out, but, otherwise, I was really pleased with the effect, and they were pretty good for a rush job.
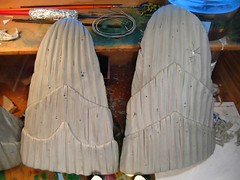
And here's a better look at the spray foam support on the inside of the plate. That spray foam kind of saved my butt as the project these were for left little time to sculpt internal detail on such a massive plate, so we just painted over the foam and called it a day (okay, so maybe that WAS a little quick-and-dirty).
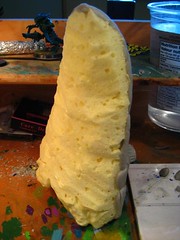
And here are three of the completed plates with three of their little brothers. All in all, they came out to be quite massive, and they were quite the imposing pieces of scenery when we got them onto the board.

Further, the painted, finished product:
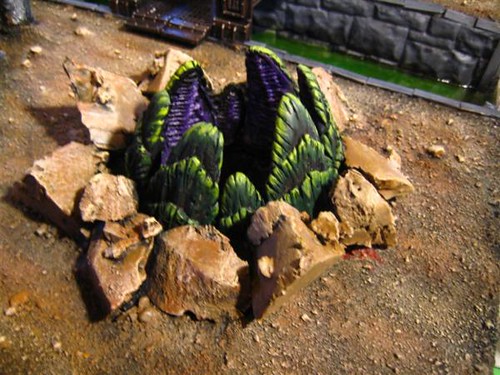
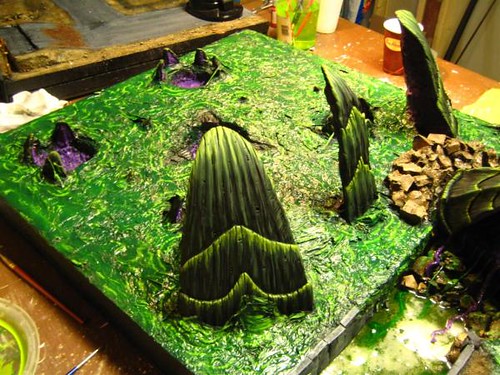
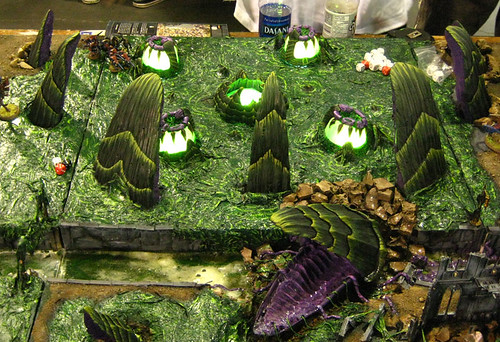


Mr Pink, I can't thank you enough for this guide. I saw it originally on warpshadow and with the introduction of Fortifications I was keen to try my hand at it. My sculpting skills aren't as good as yours but I managed to create a style I was happy with that thankfully the paint job makes significantly better. So it's a remix of your idea, if you're interested have a look here: http://40kaddict.blogspot.co.uk/2012/10/nids-part-60-terrain-is-everything.html there's also my take on the Mycetic Spore though sadly it's very coconut like ;)
ReplyDeleteThank you, Dwez.
ReplyDeleteI am always happiest when my work inspires others to ACTUALLY DO SOMETHING that they wouldn't have otherwise attempted.
It was good to see what you made of the barricades. I believe the painting on the front was particularly striking. Also, thank you for the shout-out to my Tyranid terrain work in your original post!
I must say I'm very fond of your gun emplacement solution for Nids. The Tyrannofex gun is so very perfect as a bio turret.